Photo Printer explained!
Machine manual
Personalisation Photo Printer User Manual

Step by step guide
Personalisation Photo Printer Step By Step

Training Video
Use this video as a quick walkthrough for the full personalisation workflow, from print preparation to final installation.
Customer Steps
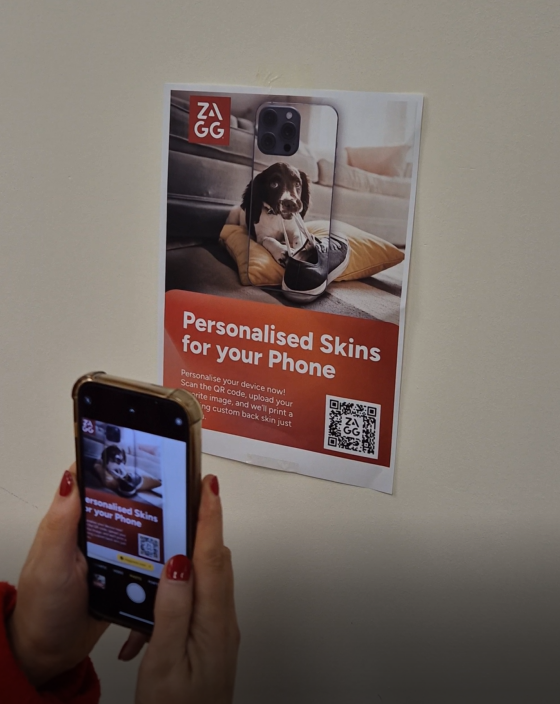
- The customer scans the QR code on the POS material and opens the link.
- They select the brand and model.
- They choose and position their image.
- Select Save & Upload.
- The customer then receives a QR code and an 8-digit code by email.

Making The Print
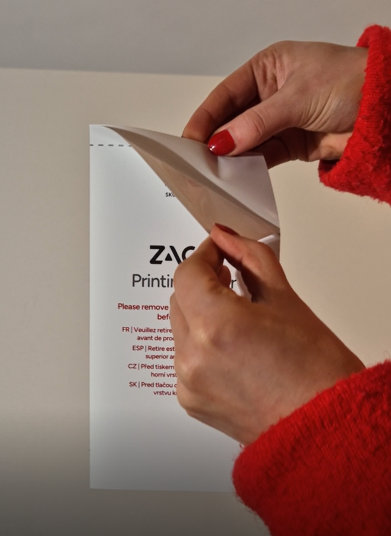
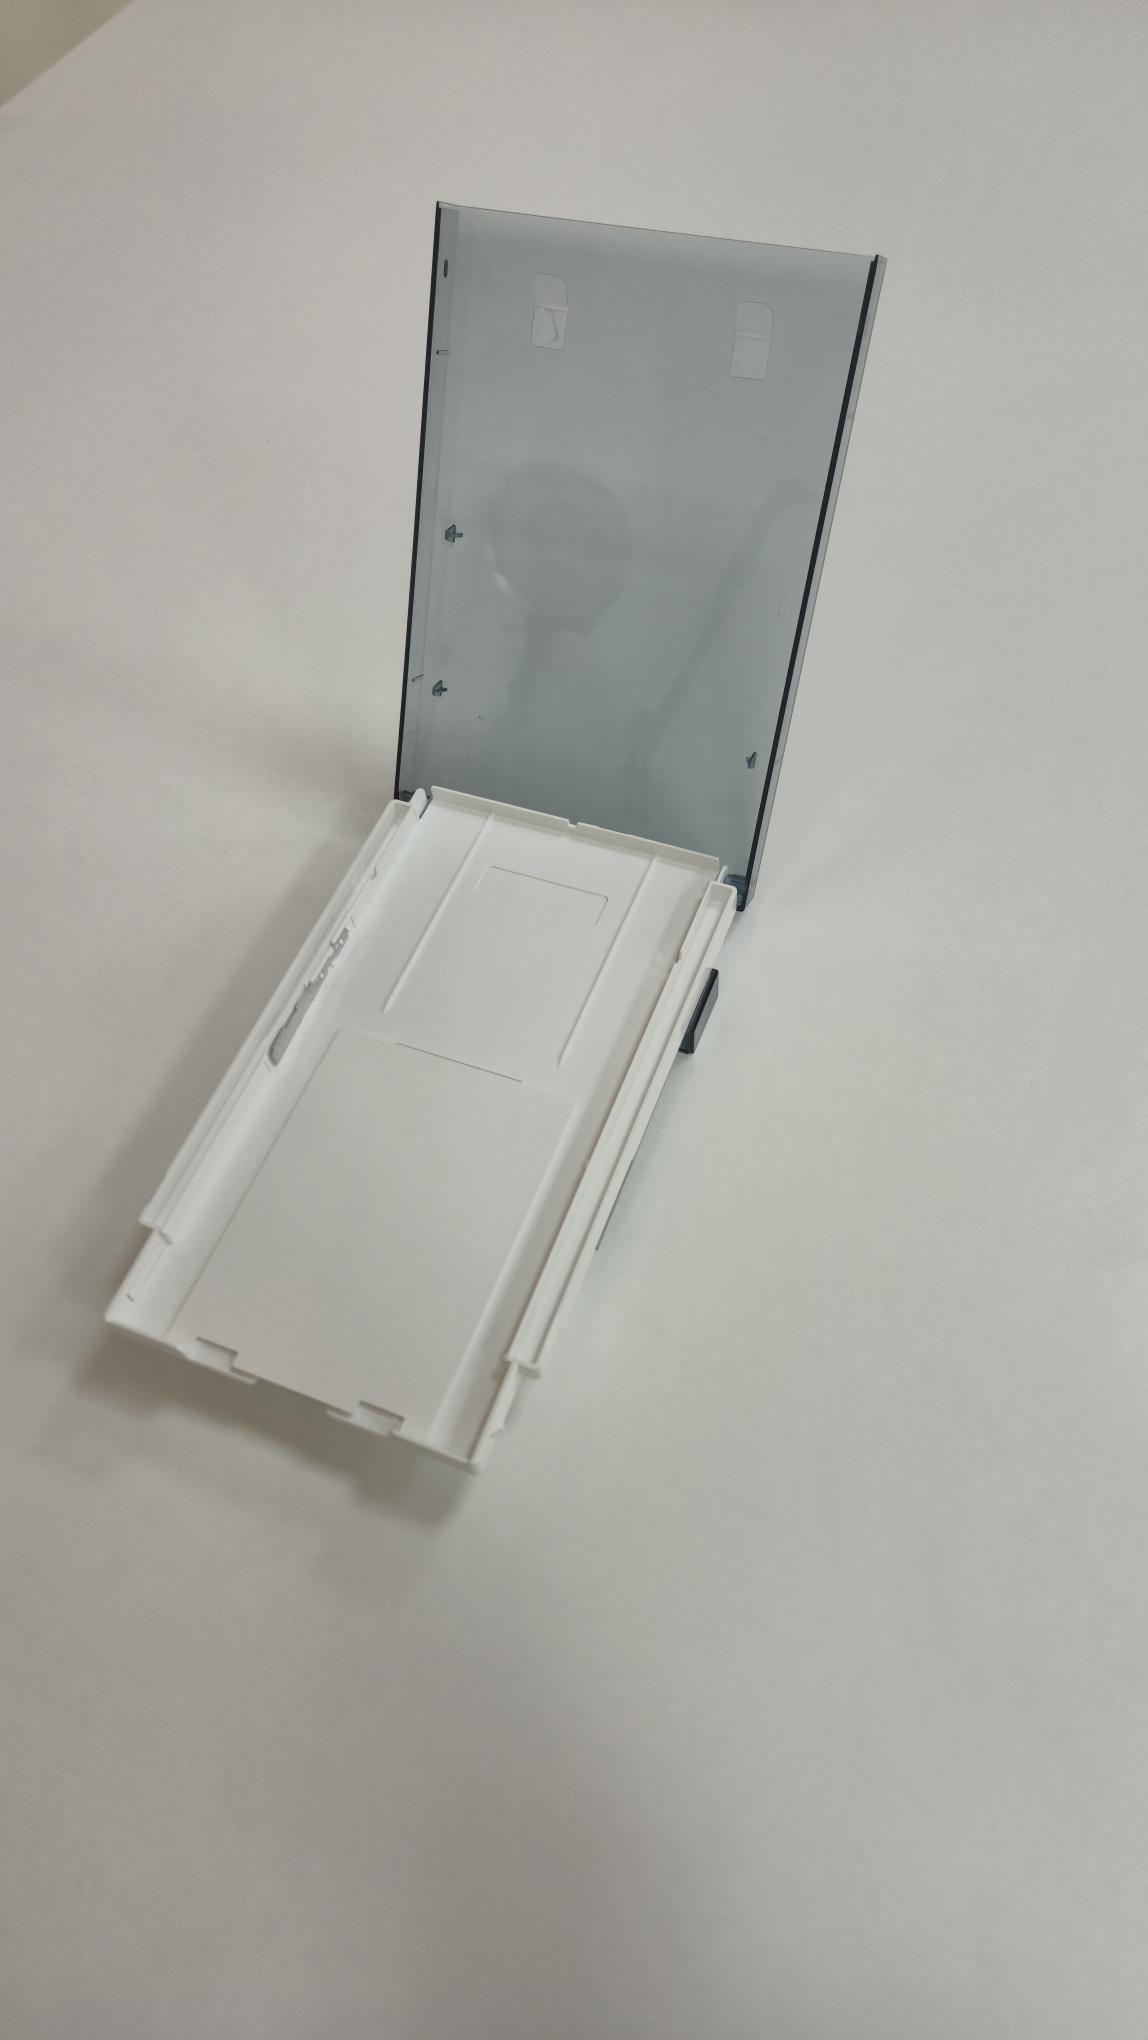
- Store Staff opens the paper tray, removes the protective layer from the print paper and loads the paper into the tray, exposed side facing up
- Close the paper tray and insert it into the printer
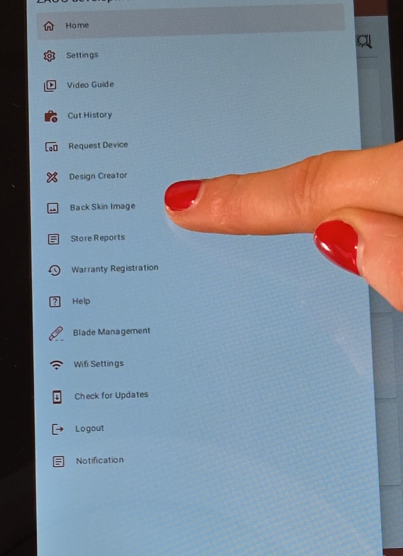
- Select the Back Skin Image option from the side menu on the machine tablet
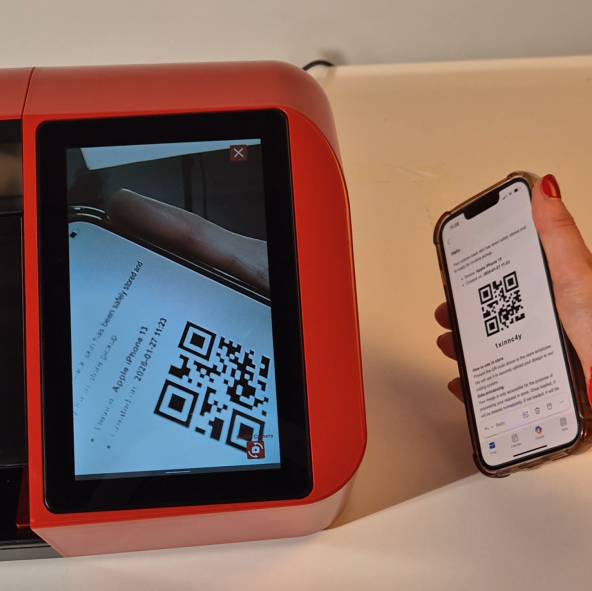
- Press Scan and scan the customers QR code or manually enter the 8-digit code
- Select Retrieve Image
- Always confirm the design with the customer before printing
- Select Print
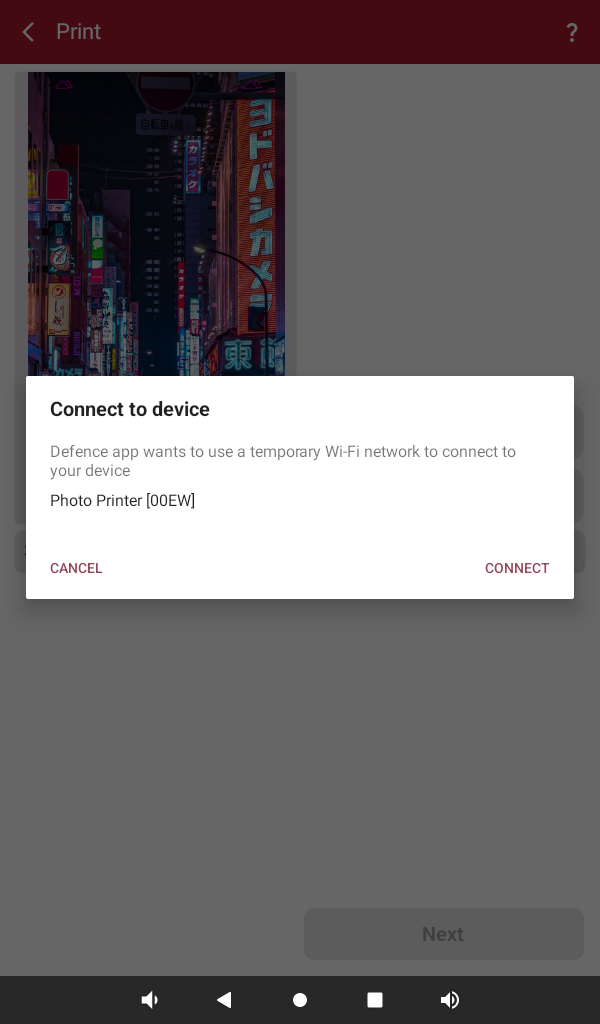
- The SmartShield machine will now search for the printer
- When the printer name appears, select Connect
- Select Print to send the image to the printer
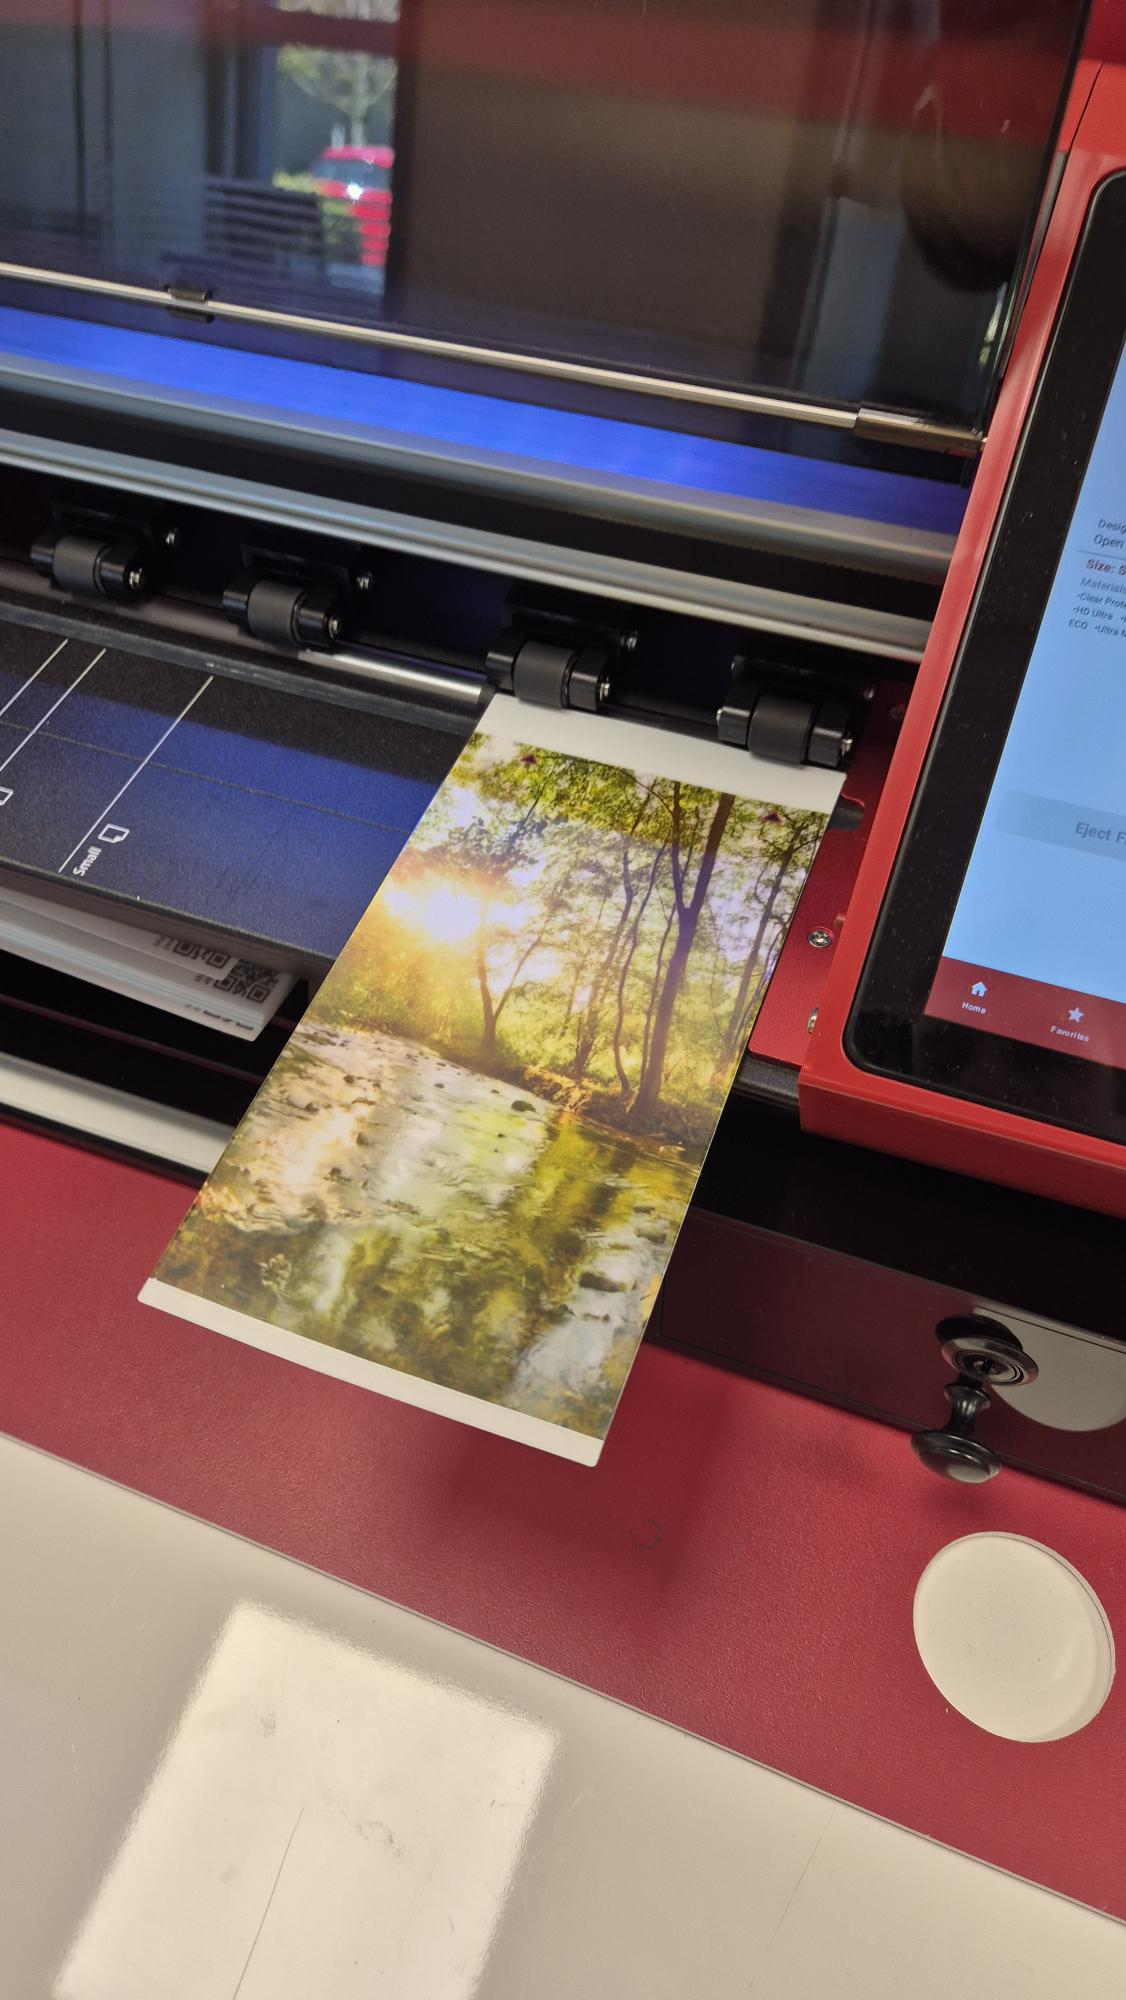
- Wait for the print to complete. It will pass through the printer 4 times
Adding The Laminate Sheet
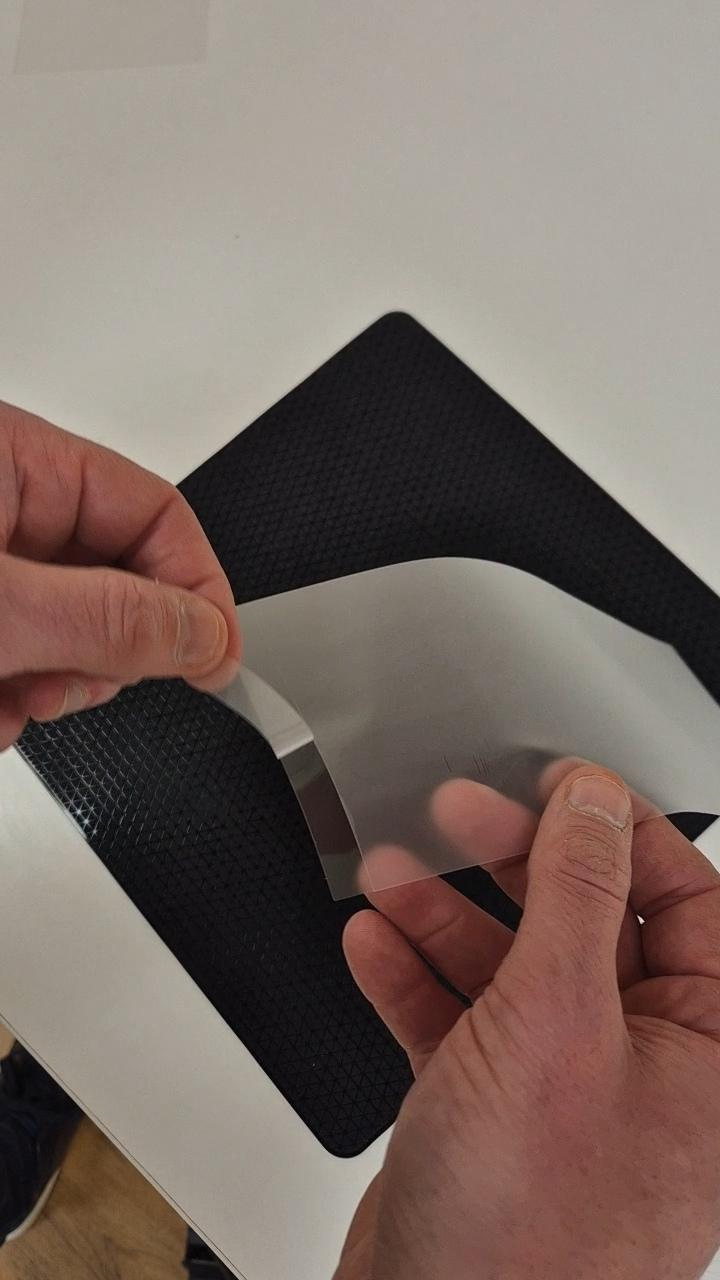
- Peel away the small strip at the bottom of the laminate sheet to expose the adhesive
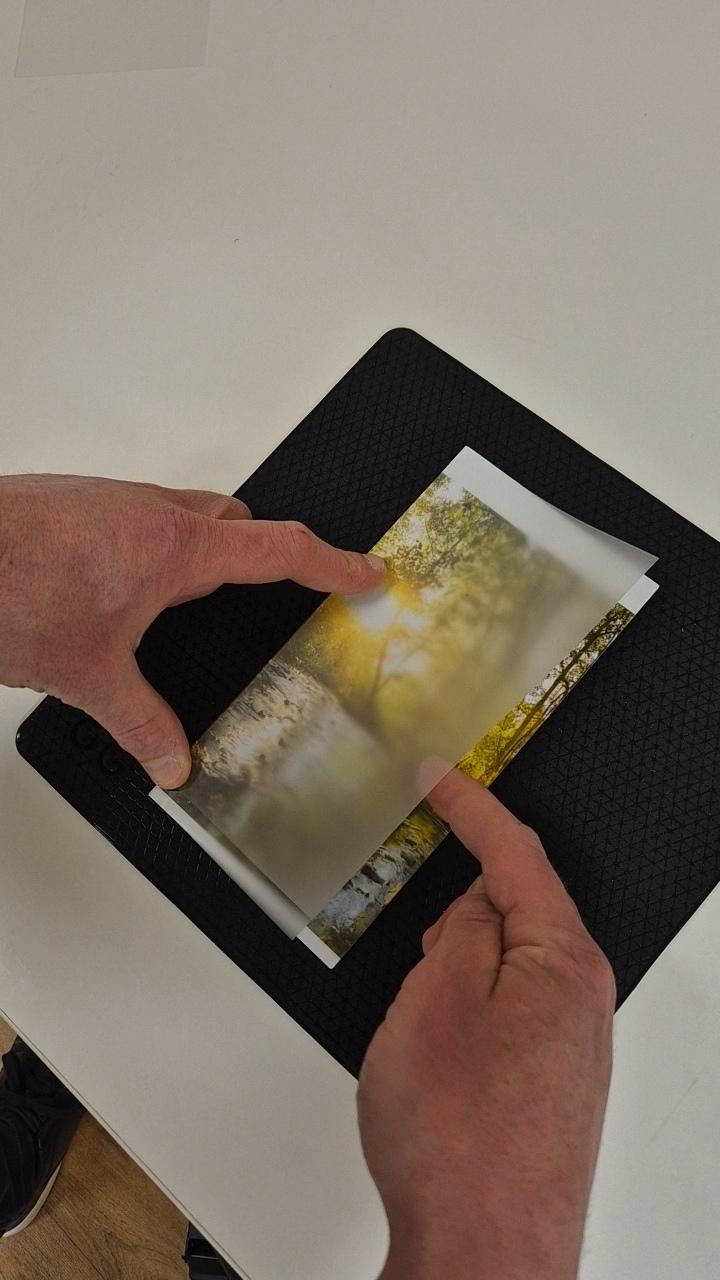
- Align the sheet over the print. Tip: Position the sheet on one side and gently place on to the print
- Ensure the adhesive strip is in full contact with the print
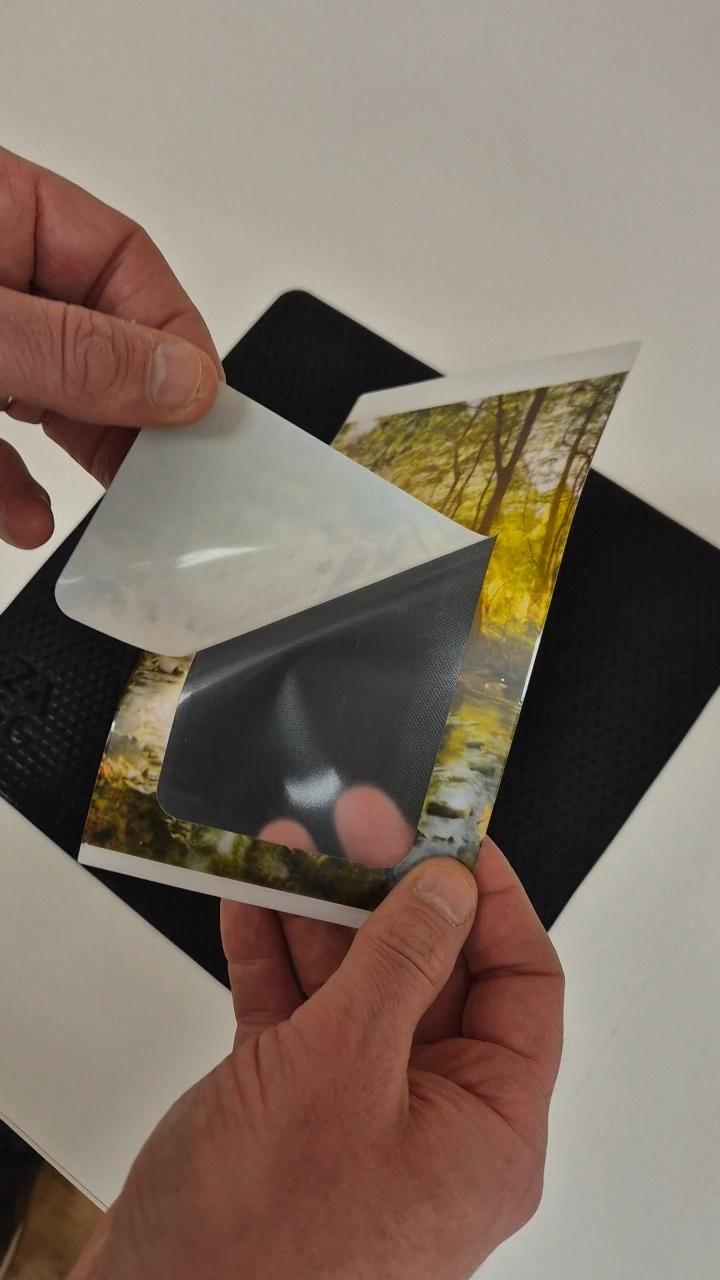
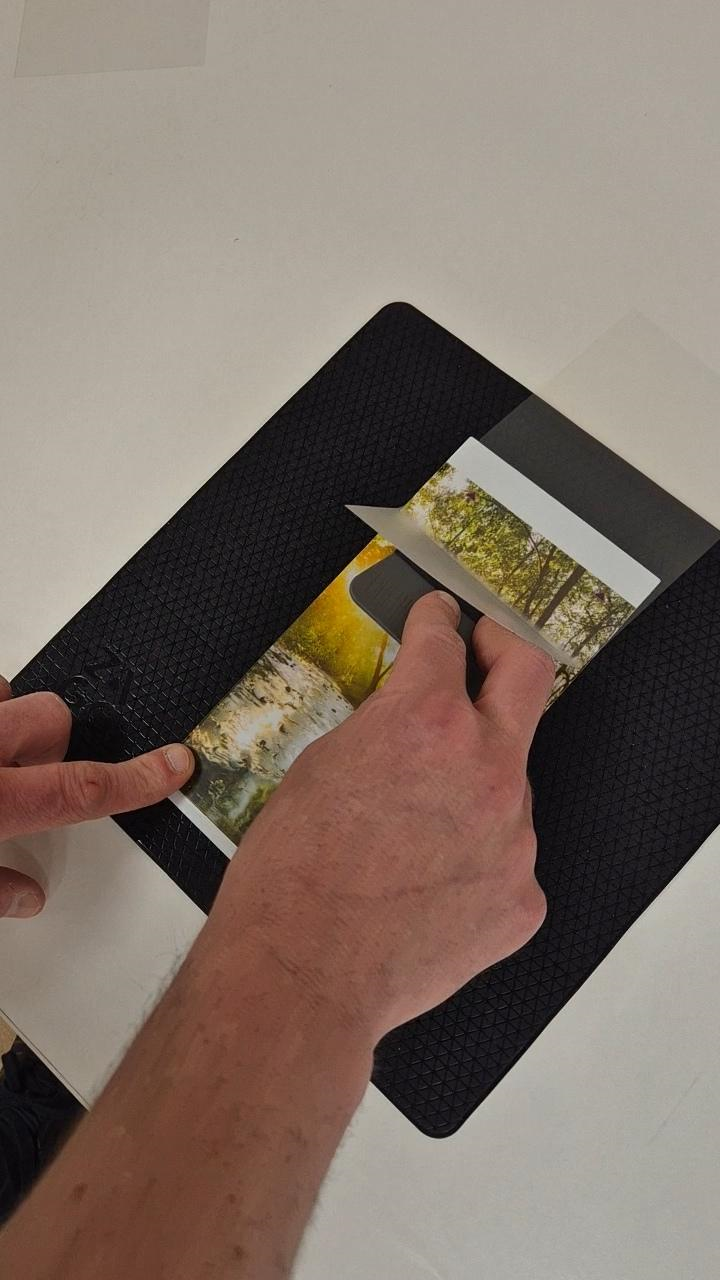
- Raise the laminate layer with one hand and release the second layer
- Use the squeegee to fully apply the laminate layer
Making The Cut
- On the tablet, select Next (confirm the correct device is on the screen)
- Insert the print using the arrows as a guide (portrait position)
- Select Next on the screen
- Select Cut (the machine will now cut the design)
Performing The Install
- Clean the back of the device with the cloth and cleaning solution
- Gently remove the print cut out from the rest of the paper
- Spray the back of the phone and the print with the cleaning solution
- Align the print on the device and use the squeegee to fully adhere it to the device